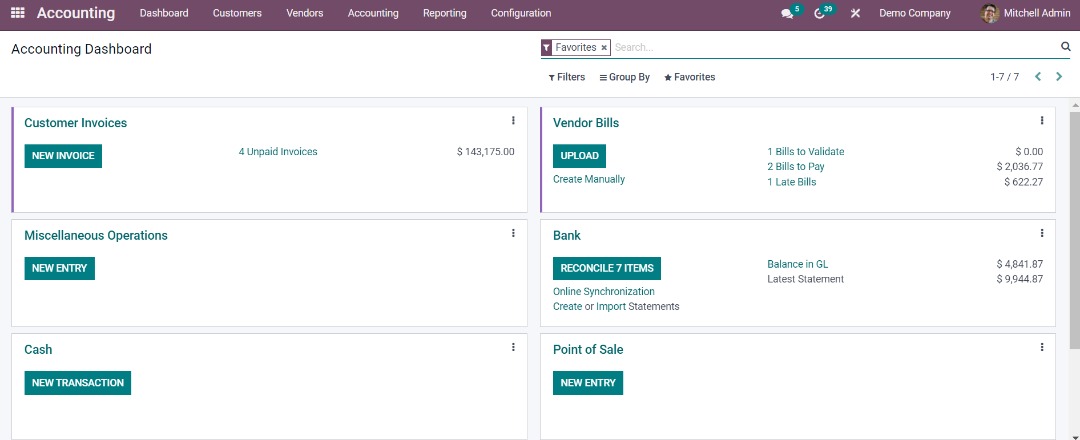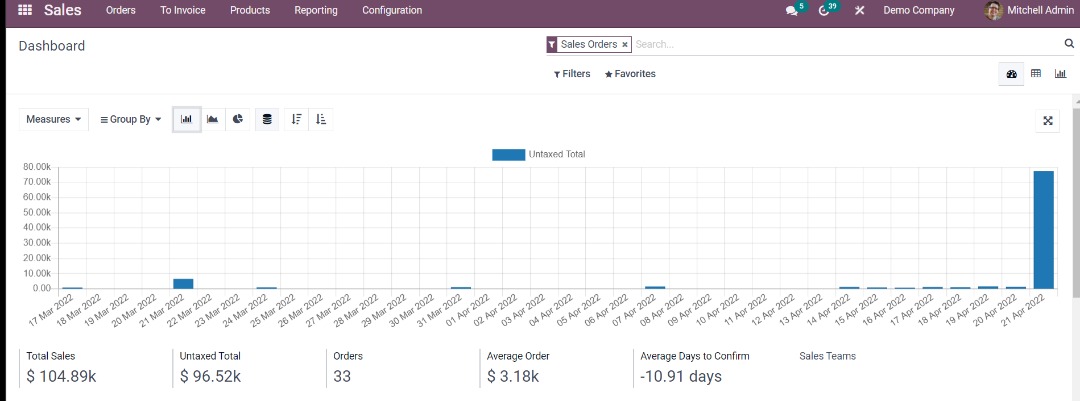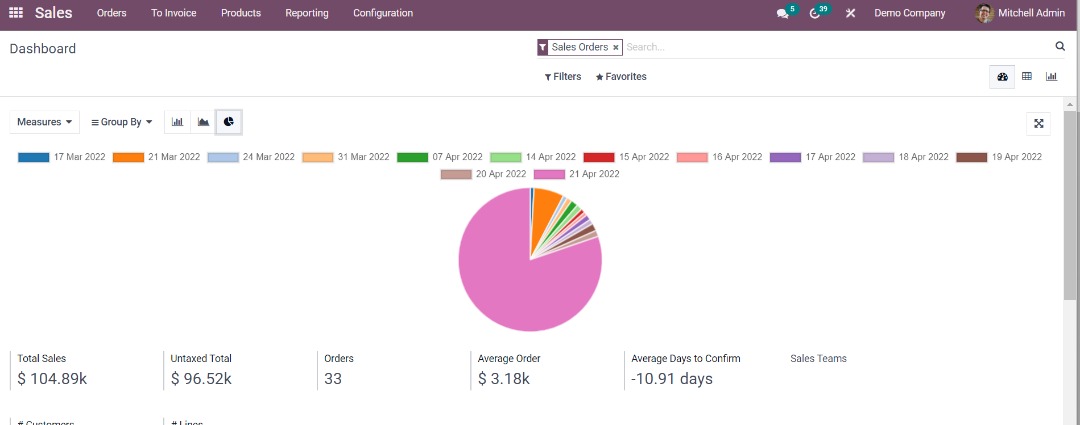

With a lot of unique and special features Odoo helps you to keep your business and its processes efficient. This integrated Odoo ERP solution makes project management so effortless. This module of Open ERP system seamlessly manages tasks and activities of projects as well as facilitates collaboration to deliver projects successfully. Furthermore, track tasks, manage timesheets and resolve issues more quickly than ever. We know that organizations are more concerned about their accounting and billing operations and it can be handled by Odoo with the integration of finance and accounting modules with the operations. Now, create invoices and bill timesheets and easily analyze the company’s sales and marketing strategy. Odoo Apps manage inventory, warehouses, purchasing, manufacturing, and other processes.
The human resource management module of Odoo manages all the HR functions from the very beginning. To put it differently, you can track the recruitment process from the very first step, i.e, candidate applications, to the final selection and onboarding stage. Likewise, with the integrated HR module track and monitor every employee’s performance and allocate bonus and incentives accordingly. Also, this module makes payroll management so easy as well as helps you to reimburse employees for extra expenses automatically. All things considered, manage all HR operations such as employees information and data, appraisals, timesheets, expenses, contracts, payroll, and more with convenience. Also, manage attendance, holidays, legal leaves and sick days.


x
The best way to install Microsoft SQL Express is to install from AutoCount Accounting CD.
This is because if you installed SQL Server from AutoCount Accounting CD, we will always install it as A2006 instance name.
By default, if you install SQL Express using AutoCount Accounting CD, the setup program will automatically add exceptions to your Windows Firewall, so you don’t have to do anything in order to allow other PC to connect to the server. However, if you found it not working, you can run a program called SQLUtility which is available in the AutoCount Accounting CD to help you add exceptions to Windows Firewall.
Please refer to the documentation or online help of the software for how to do it.
You can save AutoCount Accounting Data folder at drive C before format your PC. Once you had formatted your PC and reinstall AutoCount Accounting, you can go to File, select Manage Account Book and click on Attach Database File. Click on Get Available Server to select your PC server which is in this format, your computer name/A2006. Then, browse at Physical Data File column and select file from AutoCount Accounting folder. Click OK once you had selected the file.
Yes, you can do it in AutoCount Accounting Management Studio. To transfer data from UBS, you can go to Data Upgrade tab and select either UBS Accounting 9.1 or UBS Stock 9.1. To complete data transfer, you can click on Browse to specify your UBS data folder, select Import Option (Import Items, Import Debtors, Import Creditors or Import Past Year Price History Record) and click Import.
This is because the PC has not installed Microsoft .Net Framework 2.0.
A document in AutoCount Accounting means a transaction used for recording data which occurred at a specific date. The standard documents in AutoCount Accounting consists of G/L documents, A/R documents, A/P documents, Sales documents, Purchase documents, Stock documents, and Manufacturing documents.
Right click any column, go to Column Chooser to customize grid layout. You can add / remove by drag-drop the column. Then, right click any column and select Save Grid Layout. Right click again any column and select Layout Manager. Here, you can assign different layout for different users at Assign Layout to Users tab.
This means you are not allowed to use the function. If you really want to use the function, you should consult your AutoCount administrator to give you the access right.
If you have administrator right, you can go to General Maintenance and select User Maintenance. To change access right setting, select Access Rights button. On the Access Rights tree list, find your access right, then tick the users you would like to add to, then click Apply button.